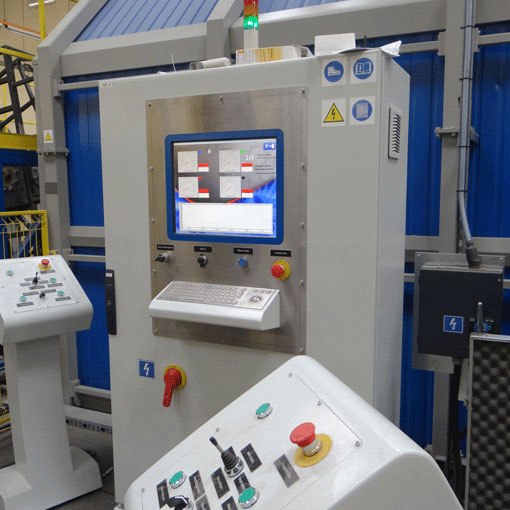
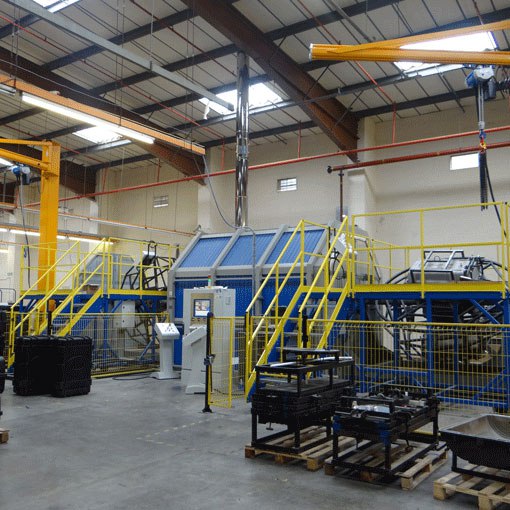
How Rotational Moulding Works
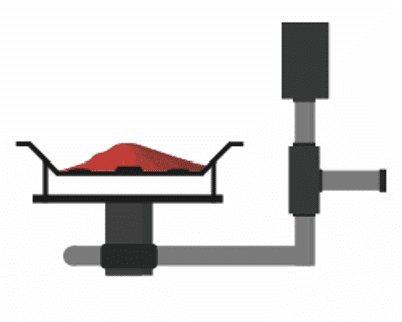
Loading
Raw material is placed into the mould. The most common material being polyethylene (LDPE, HDPE, LLDPE, MDPE) which is available in a vast array of colours. Additives can be added during the rotomoulding process for different requirements such as UV protection and colour consistency.
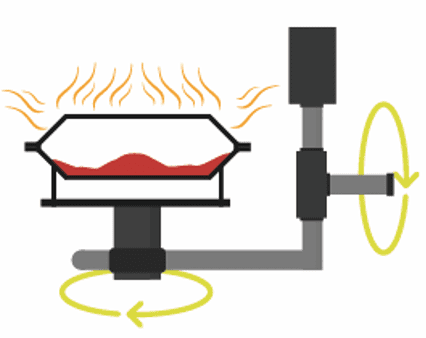
Heating
The mould is then heated in an oven and rotated causing the polymer to coat the mould walls. Rotation occurs on two or more axes rotating at different speeds and frequencies. This allows for an even wall thickness and clean finish to every rotomoulded product.
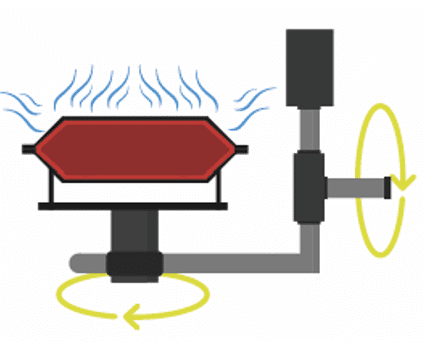
Cooling
After heating, the mould is cooled whilst rotating to ensure an even wall thickness. During this time the product will incur a small amount of shrinkage which is catered for in the design of the mould. The shrinkage aids the removal of the product from the tool.
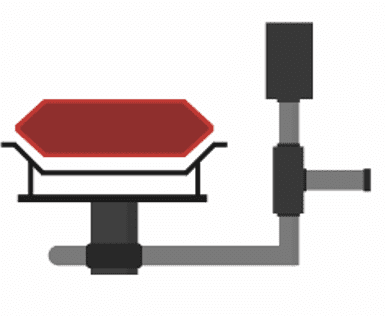
Removal
The final steps in the rotomoulding process are removal of the product from the tool and finishing. During the finishing process the parts are trimmed and allowed to cool further sometimes using jigs to prevent further shrinkage and to achieve an accurate final product.
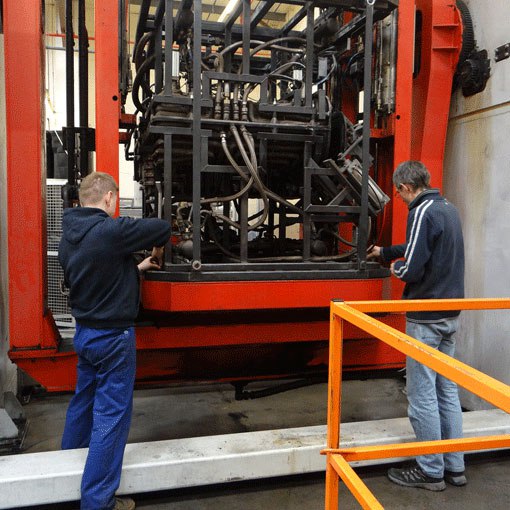

Rotational Moulding
- Step 1: Loading the Resin
-
The first step in the rotational moulding process is loading the mold with the appropriate resin. The resin selection is based on the desired characteristics of the final product, such as wall thickness and durability. The mould is carefully filled with the resin, and the exact quantity is determined by the part’s predetermined recipe.
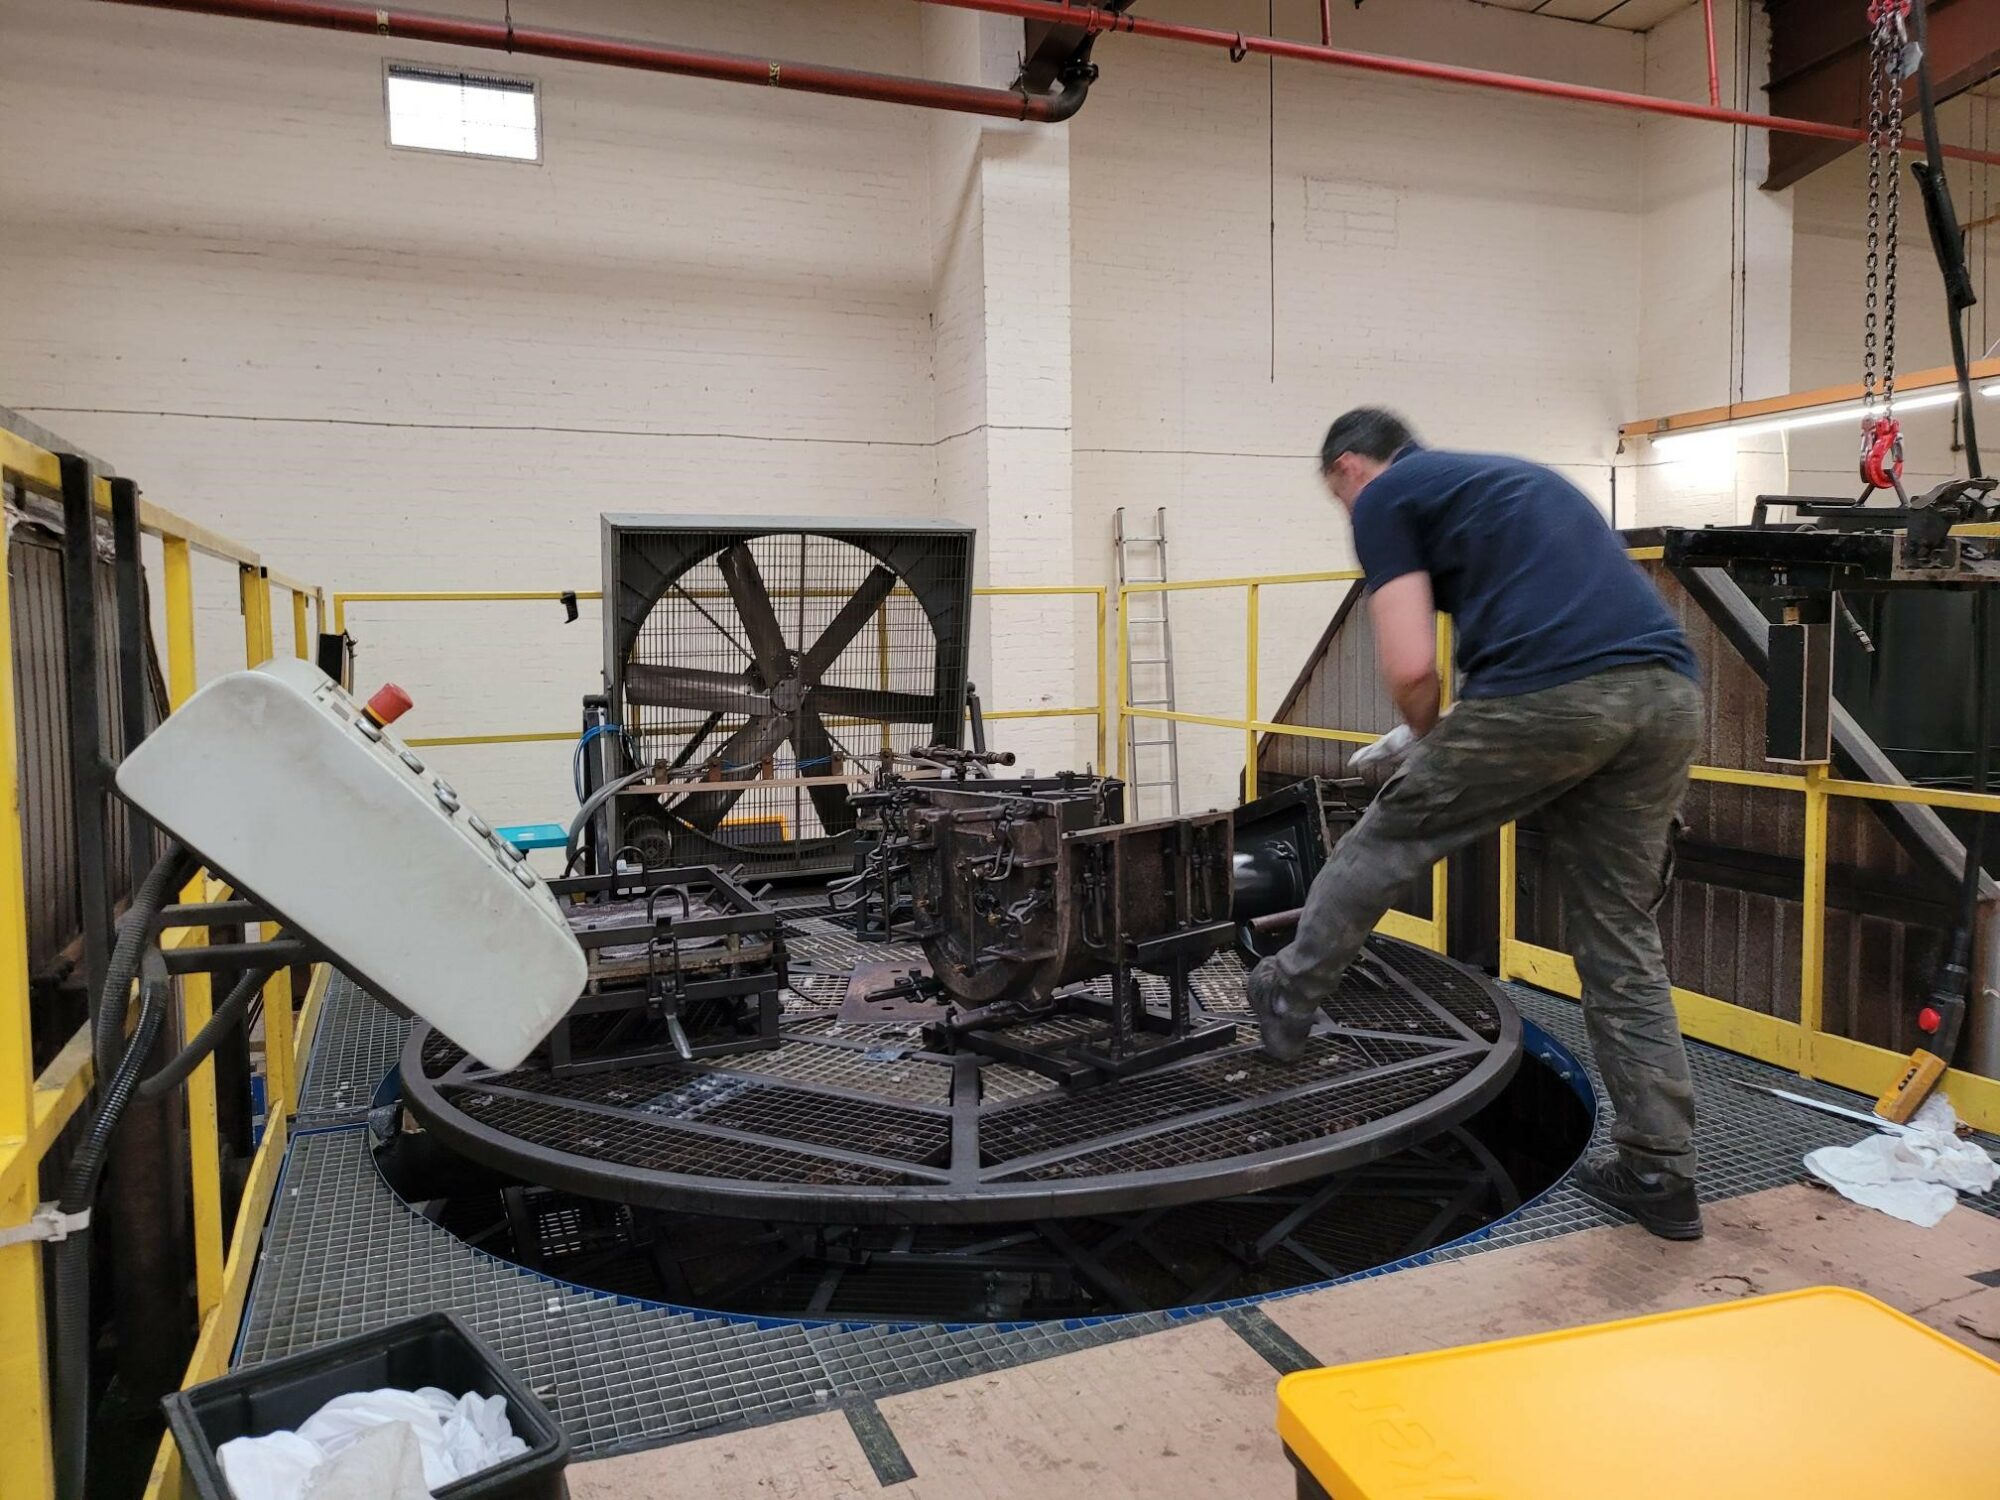
- Step 2: Heating and Rotating the Mould
-
Once the mould is loaded, it is closed and bolted shut to create a tight seal. The mould is then attached to one of the arms of the rotational moulding machine. The machine’s arm moves the mould into a gas oven, where it undergoes controlled heating. The rotation of the mould ensures that the resin evenly spreads throughout the mould, reaching even the corners and intricate details of the part. The rotation typically lasts for a specified duration, as dictated by the recipe.
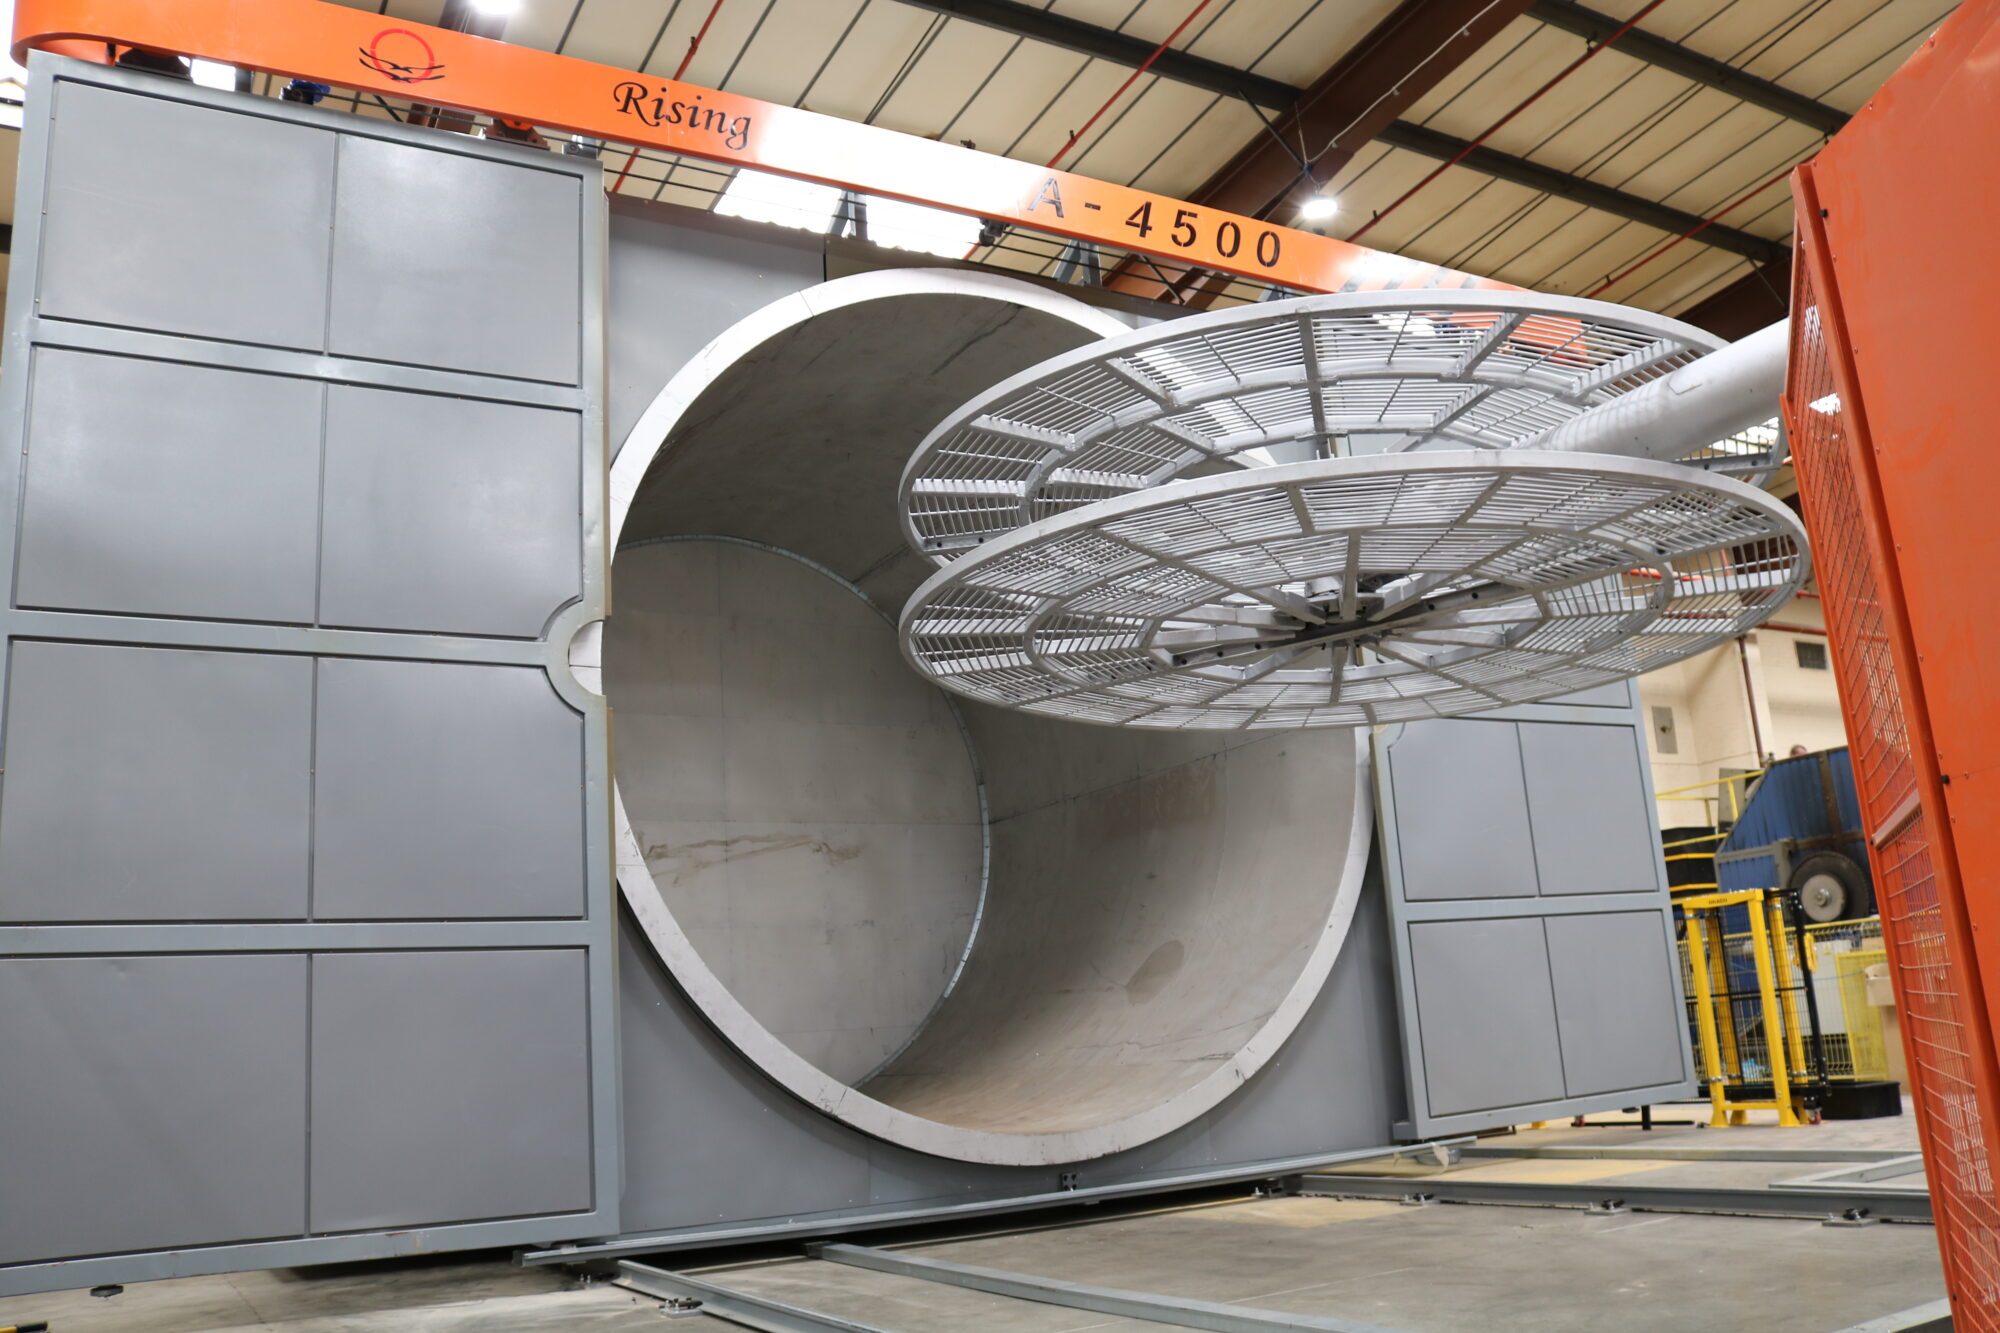
- Step 3: Cooling and Demoulding
-
After the heating stage, the mould is moved into a cooling chamber while still rotating. Cooling can be achieved through the use of cold water or air. This stage is crucial as it solidifies the molten resin, transforming it into a rigid plastic part. The cooling process is carefully controlled to prevent any warping or deformities in the final product.
Once the cooling is complete, the mold is shifted back to the worker’s platform. The mold is opened, and the newly formed plastic part is carefully removed. The mould is then ready to be filled, closed, and bolted shut for another rotation.
- Step 4: Finishing Touches
-
After the plastic part is removed from the mould, it may undergo additional finishing touches, such as trimming excess material, adding inserts, or applying surface treatments. These steps ensure the final product meets the desired specifications and quality standards.